// News item
Event Stage Setup Step by Step – Behind the Scenes
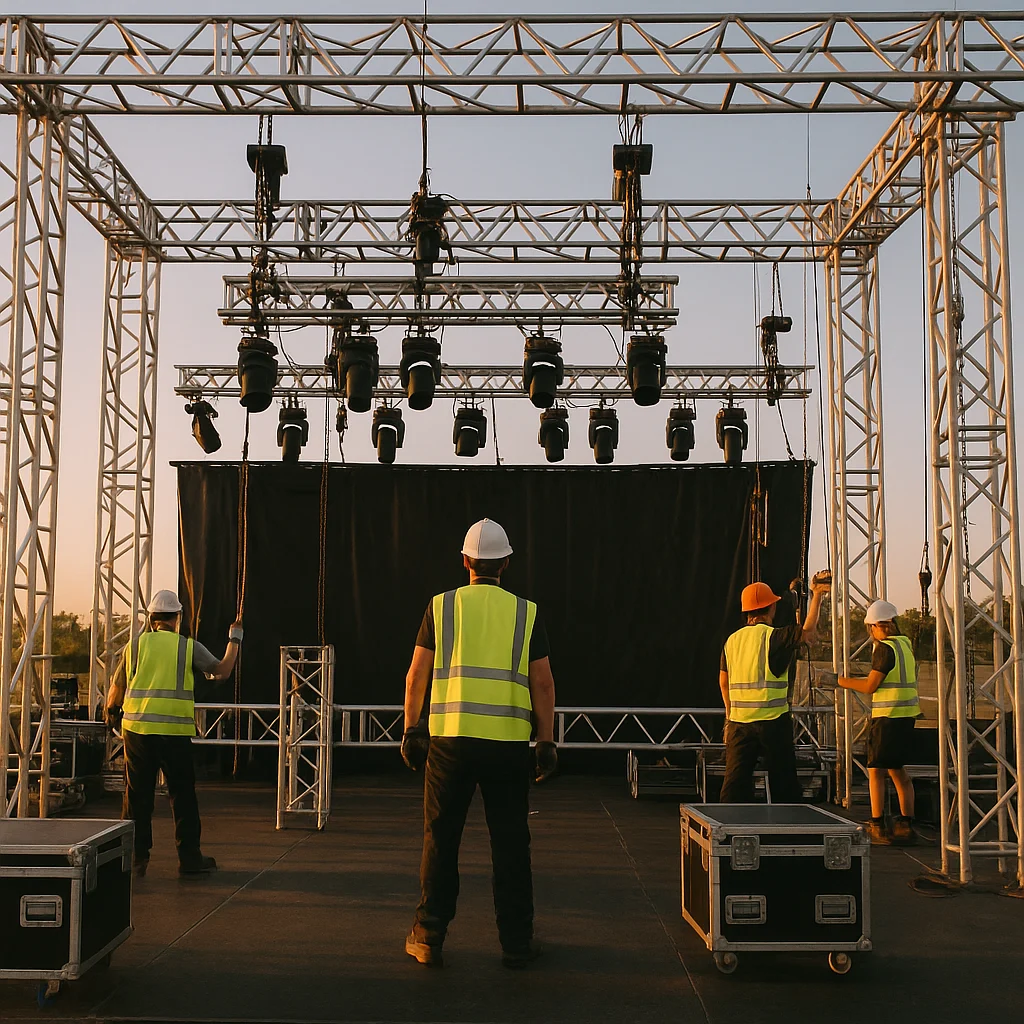
If you’ve worked a few events as a technician, you know: the audience sees a beautiful stage, everything sounds great, everything’s lit up perfectly. What they don’t see is how much work, coordination and precise planning goes on behind it. Setting up a stage is a complex project in itself – let me show you step by step how a professional setup is built from scratch.
Preparation: planning and logistics
Before we even unload the truck, the stage plan is already long done. This isn’t optional – it’s fundamental. The plan must include the type of construction (roof, ground support, mobile stage), exact dimensions, load capacity, lighting and sound positions, cable routes, power supply and safety requirements.
It’s worth doing a site visit at least a day before setup. Check the ground conditions, any slopes, how close we can get with the truck, where the power feed points are. If it’s a festival, check the site map and coordinate with other technical crews – especially if we’re sharing infrastructure with them.
Building the structure
Always start work with the framework. If we’re talking about a truss-based structure, first lay out the ground support elements (base plate, outrigger), level them and secure them. Use a spirit level or laser level – if you’re off by 2-3 cm here, that can mean a metre-wide error up high.
Then comes connecting the truss elements. Every bolt needs to be in place, every safety pin needs to go through. Don’t skip those 10 seconds – safety isn’t optional. Use standard wrenches, preferably a ratchet wrench, because you’ll never get it tight enough by hand.
If you’re working with a ground support system, raise the vertical columns (tower, lifter) gradually, always symmetrically, to avoid uneven loading. Communicate constantly with the team – walkie-talkie or hand signals, but everyone needs to know what everyone else is doing.
Installing lighting and sound
Once the frame is up, equipment can go on. Start with the heavier gear (moving heads, line arrays) because they create the greatest load and can easily shift the centre of gravity.
Secure every lamp and speaker with a safety cable or chain – this is standard, not a request. Use clamps (truss clamp, hook clamp) that match the truss profile, and tighten them properly. In the Invgroup range you’ll find professional safety chains and quick-release clamps.
It’s worth sorting out cabling during installation, don’t leave it till the end. Run separate DMX, power and audio signal cables – don’t let anything get tangled. Use cable trays or velcro ties to keep things tidy, and label cables at both ends. Always run cables loosely, with small loops – tightly stretched cable in a moving structure will sooner or later break or pull out a connector.
Power supply and distribution
Installing power is critical and requires qualified personnel. If we’re talking about CEE 63A or 125A feeds, only colleagues with electrician qualifications should touch it.
Use distro boxes with adequate capacity, phase-correct wiring, and always check the system with a phase tester or multimeter. Earth (PE) is mandatory. Don’t forget to include an RCD (residual current device), especially for outdoor events.
When cabling, watch the cross-sections too: 2.5 mm² max 16A, 4 mm² up to 25A, 6 mm² up to 32A – don’t kid yourself, or you’ll end up with overheating. Use weatherproof cable if working outdoors, and never lay cable where cars, forklifts or people can cross it without protection (cable tray, bridge).
Testing, tuning, final checks
Once everything’s cabled, comes testing. First just switch on the power, check that every device is getting power, no short circuits or voltage drops. Then start up systems step by step: mixer, amplifiers, processors, finally the speakers.
Similar order for lighting: DMX interface, console check that every fixture is addressable and responding. If it’s moving heads, run the automatic test programme (lamp on, reset), check the heads are moving, gobos and prism functions are working.
Don’t forget the safety inspection either: every bolt tightened? Every safety cable in place? No hanging, loose cables? Adequate clearance height above the audience area? Earthing OK?
A few closing tips from experience
Always allow time for setup – experience shows that what’s 4 hours on paper often becomes 6. Have spare gear: extra DMX cable, patch cable, connectors, adapters, fuses. They’re cheap, but they can save the day.
Communicate constantly with the team, and don’t be afraid to ask if something’s unclear. Event technology is teamwork – if someone makes a mistake, it can endanger everyone.
And finally: when you’re done, go through the whole installation again with fresh eyes. Often it’s during that last-minute check that the cable that isn’t connected turns up, or the clamp that stayed loose.
A well-built stage isn’t just a beautiful sight – it’s safe, reliable, and guarantees the show can happen without a hitch. And if you were the one who built it, that feeling is priceless.
